
After years of making and eating copious amounts of kimchi, we’ve perfected the recipe!
OK, well we tried to perfect it.
Kimchi is a side dish that is eaten with almost every Korean meal. Side dishes are known as banchan and can include various pickled, vegetable and savory dishes. You’ll typically enjoy banchan when eating Korean BBQ and with about any meal all over South Korea.
The fermented cabbage and vegetables offer a tart taste and are often a great way to flavor rice and noodle dishes. Eat kimchi with ramen, rice, in your salads and even alone as a snack. Kimchi is meant to be spicy but you can adjust the spiciness levels by adding more or less gochugaru (pepper flakes).
My friend shared her kimchi recipe with me (THANK YOU!). I made some modifications from her recipe to fit my taste.
Without further ado, here is our favorite kimchi recipe!

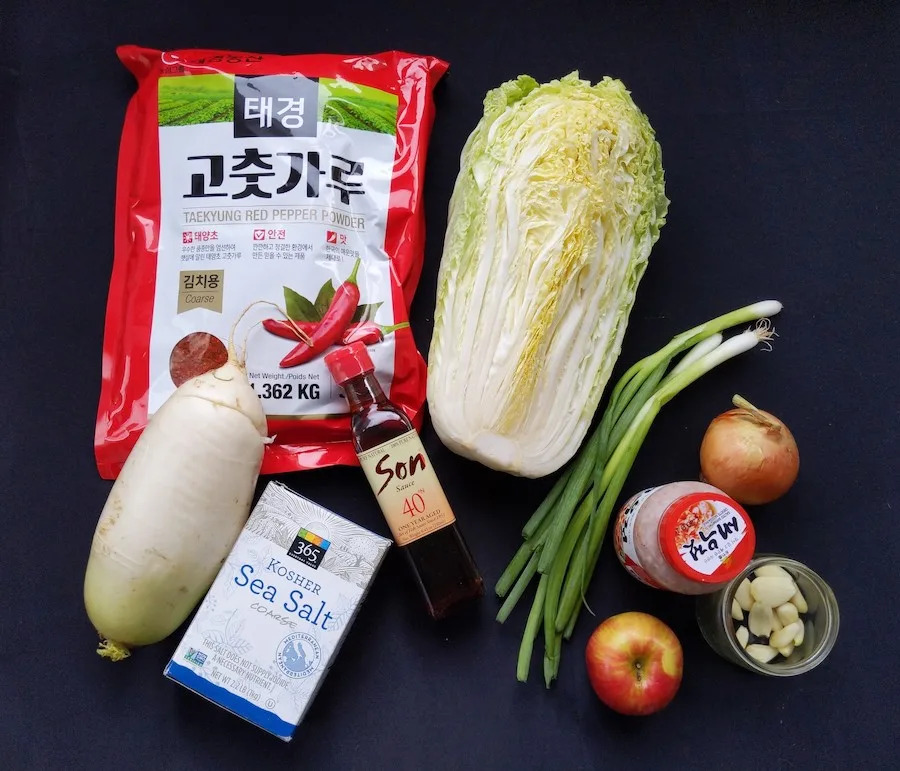
Here’s what you need!
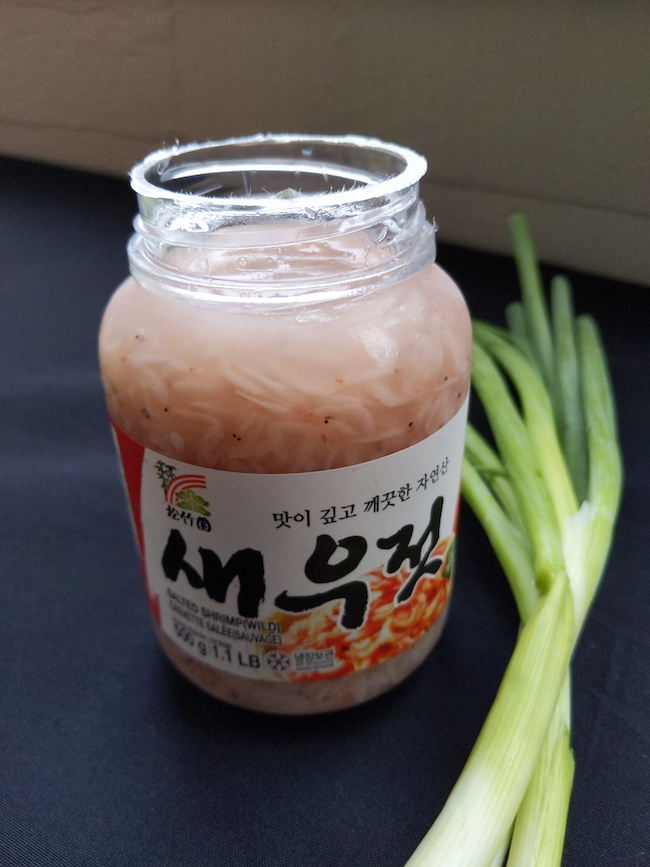
We used this salted shrimp that can be found at many Asian grocers. You can also substitute for dry shrimp if it is not available in your area.
How to Make Fast & Easy Kimchi Recipe

I've finally found my perfect recipe for kimchi, or spicy pickled Korean cabbage side dish. This recipe will yield enough to last you for months or to share with friends and family. Enjoy!
Ingredients
- 1/2 Napa cabbage
- 1/3 Daikon/Korean radish cut into matchsticks
- 3/4 cup fish sauce
- 1/3 cup salted shrimp
- 3/4 of a Fuji or Honey Crisp apple
- 3 scallions/green onions cut into 2"-3" pieces
- 1/2 white onion
- 10 cloves of garlic
- 1/3 cup of sea salt
- 1/2" of fresh ginger
- 1 cup gochugaru (Korean red pepper flakes)
Instructions
Brine the Vegetables
- Wash the Napa cabbage and cut it into 1"-2" pieces.
- Dice the daikon into matchsticks.
- Cut the scallions into 2-3" pieces and set aside the white parts.
- In a large bowl, add the cabbage, daikon and green parts of the scallion.
- Brine the vegetables by adding 1/3 cup salt and topping to vegetables with room temperature water.
- Massage the vegetables in the water with your hands until the salt has dissolved. This should take about 4-6 minutes.
- Top the bowl off with room temperature water to completely submerge the veggies.
- Leave the vegetables to brine for 3 hours. This process will soften the vegetables.
- After 3 hours, drain the vegetables and keep 1/2 cup of water from the brine to top off the kimchi.
- Wash the vegetables under room temperature water and set aside in a strainer to dry.
Make the Kimchi Paste
While the vegetables are drying, it's time to make the kimchi paste.
- In a blender or food processor, add the garlic, apple, onion, white part of the scallions and fish sauce. Blend until it liquifies.
- Transfer the liquid mixture to a large bowl and add the gochugaru and salted shrimp.
- Wear gloves and begin to mix the pepper flakes, shrimp and paste with your hands. It's best to have a designated set of rubber gloves for making kimchi.
Make the Kimchi
- One handful at a time, begin to mix the brined vegetables into your spicy kimchi paste.
- Mix everything with your hands until it's covered and bright red in color.
- Transfer it into a large jar or container. The jar does not have to be airtight.
- Top the kimchi with a bit of brine water until all vegetables are submerged.
- Place the jar/container on a large plate or tray to collect the fermentation as it starts to bubble out of the container.
- Allow the kimchi to ferment 72 hours at room temperature.
- On the fourth day, taste your kimchi to make sure it tastes tangy and tart. If it doesn't, leave it out longer. If it does, you can wipe the container down and transfer it into the fridge. It will continue to ferment in the fridge.
Notes
- Daikon can be replaced with 3-4 carrots cut into matchsticks. You can also use a blend of both carrots and daikon.
- 1/3 cup of dry shrimp can be used in place of the salted shrimp. Make sure you blend the dry shrimp in the blender when making the kimchi paste.
- Make the kimchi spicier by adding more gochugaru flakes.
- The kimchi will continue to ferment in the refrigerator.
- If you find mold on the top of your kimchi, you can skim it off and eat the rest as usual.
- Want more flavor? Add more shrimp or garlic to your kimchi paste.
- You can ferment your kimchi in a plastic container. Some people believe the plastic imparts a flavor into your kimchi but it is not noticeable to us.
- You can use the juices from your kimchi to make soup or "jjigae."
- Turn the rest of the daikon in a separate pickled dish. Cut the daikon into cubes and add them to a mason jar. Boil water, 1 tablespoon sugar, 1 teaspoon salt and 2 tablespoon gochugaru flakes and add the hot mixture into the jar. Let it sit overnight and place it in the fridge.
Nutrition Information:
Yield:
40Serving Size:
1Amount Per Serving: Calories: 12Total Fat: 0gSaturated Fat: 0gTrans Fat: 0gUnsaturated Fat: 0gCholesterol: 0mgSodium: 1361mgCarbohydrates: 3gFiber: 0gSugar: 1gProtein: 0g
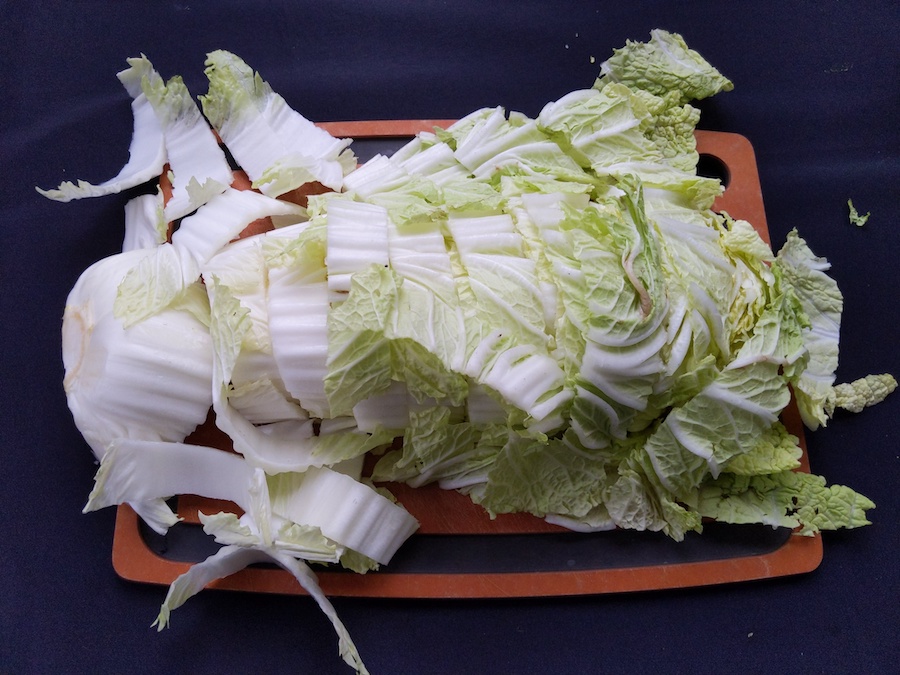
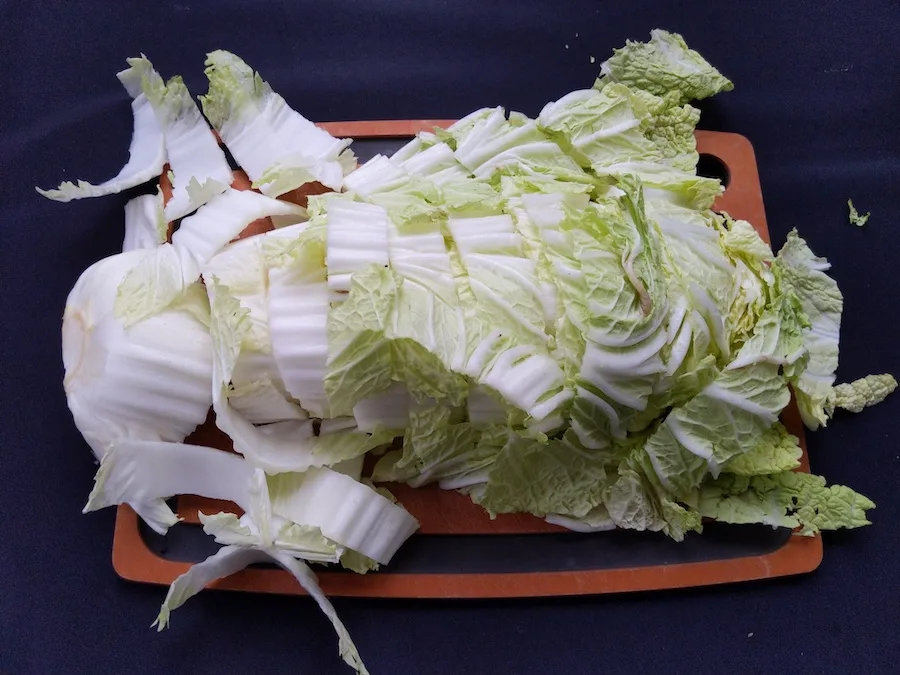
Chop the Napa cabbage into 1″-2″ pieces.
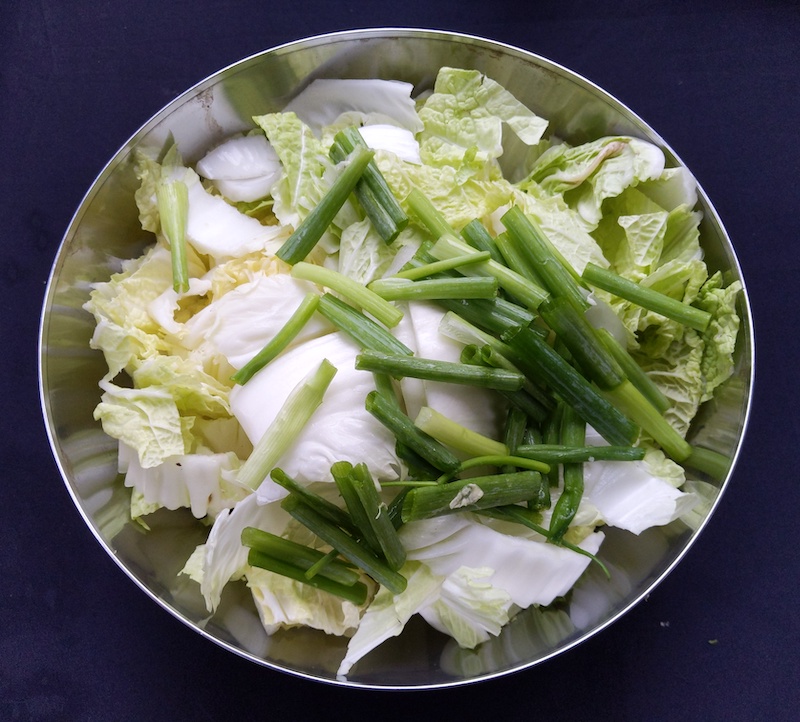
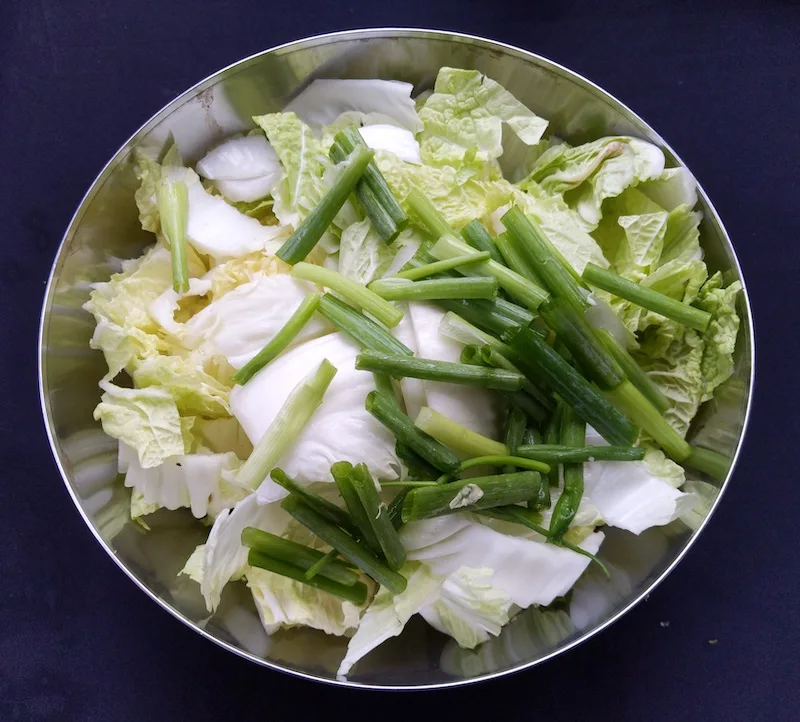
Chop the green scallions into 2-3″ pieces and place into the bowl. Set the white part aside.


Cut the daikon into matchsticks and add to the large bowl with Napa cabbage.
Be sure to use the amount of daikon that this recipe calls for. Too much daikon can make your kimchi turn out very sweet…unless sweet kimchi is your thing.
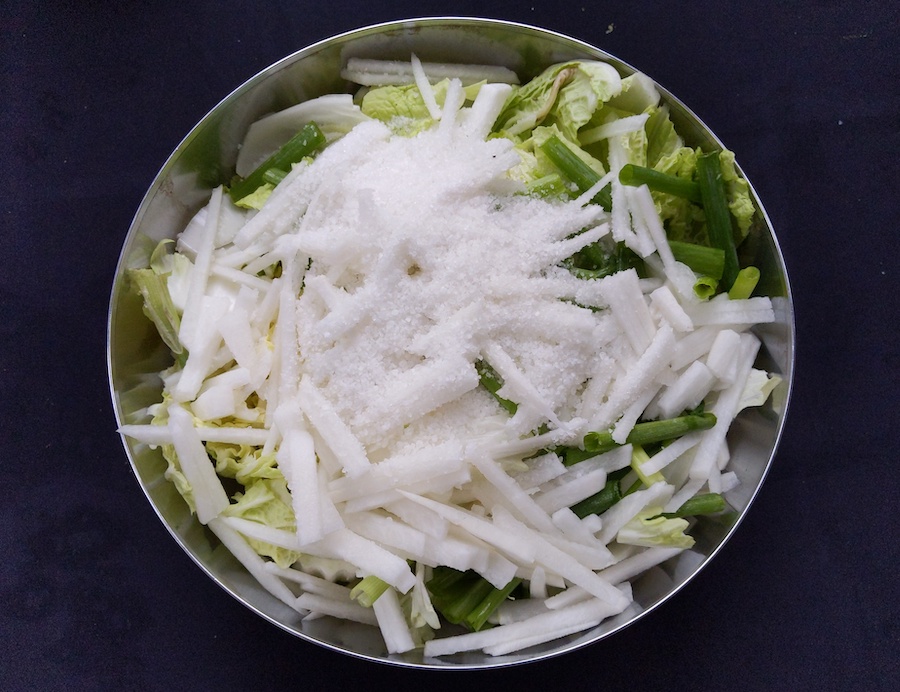

Add all the vegetables and salt into the bowl.
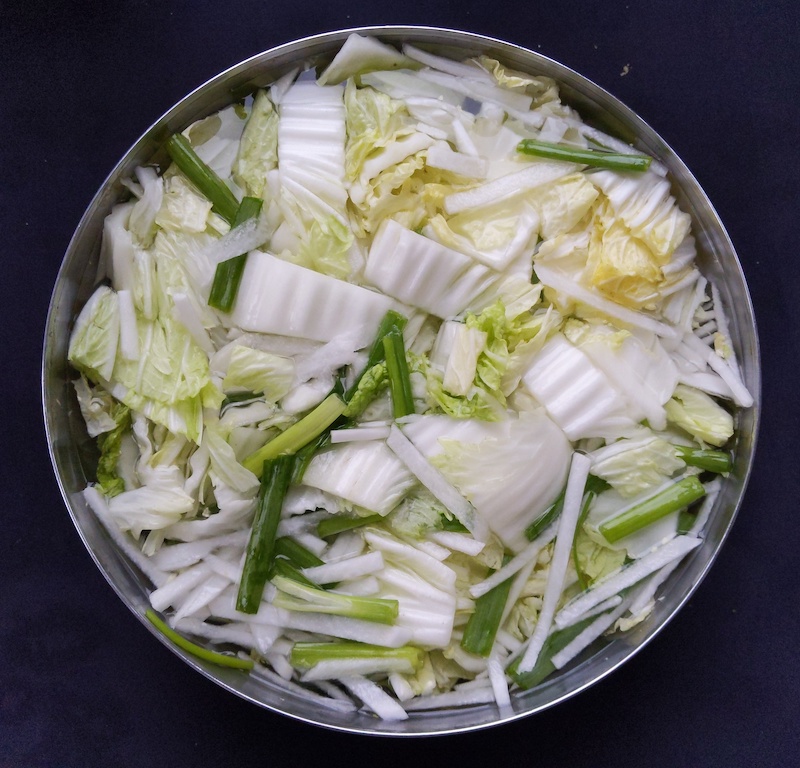

Add room temperature water and massage and mix the salt into the water until it’s dissolved. Allow the vegetables to brine for 3 hours.
After 3 hours, drain the veggies under room temperature water. Save 1/2 cup of the brine to top off the kimchi to ferment.
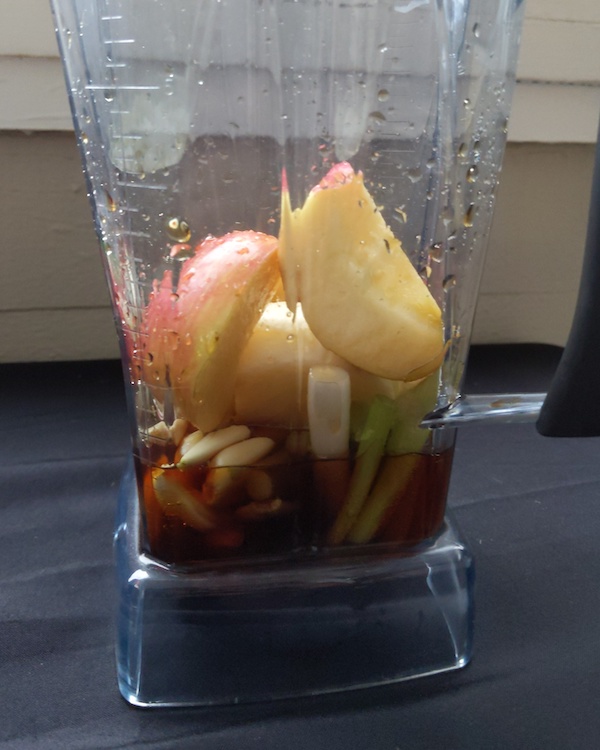

Blend the kimchi paste ingredients until it is liquified.
It’s important to note that the ginger should be used sparingly. Too much ginger will make your kimchi bitter. We recommend using a 1/2-3/4″ of fresh ginger in your recipe. You can leave the rind on when making the kimchi paste.
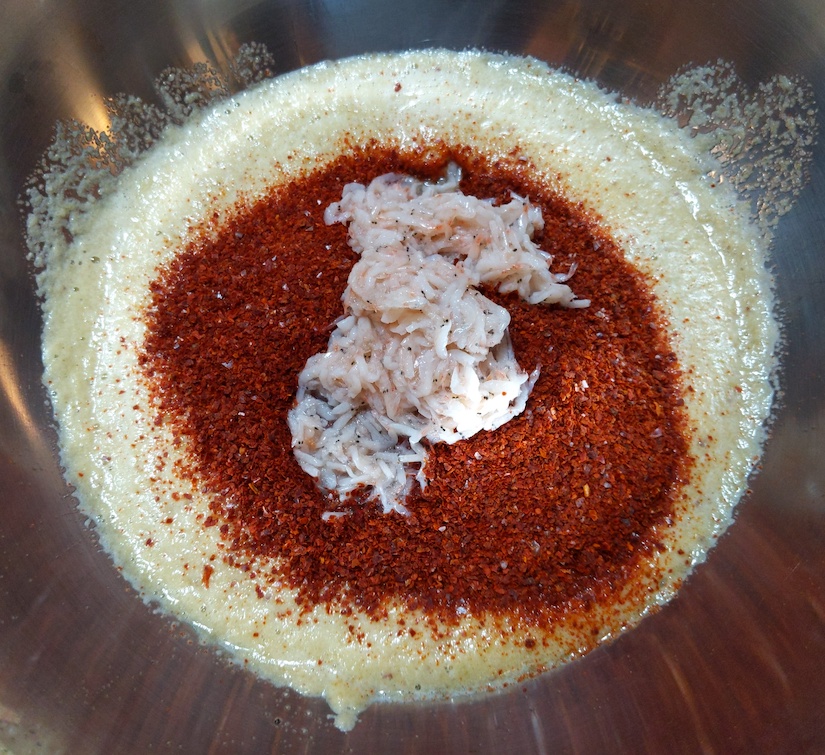

Mix the kimchi paste with gochugaru and salted shrimp.

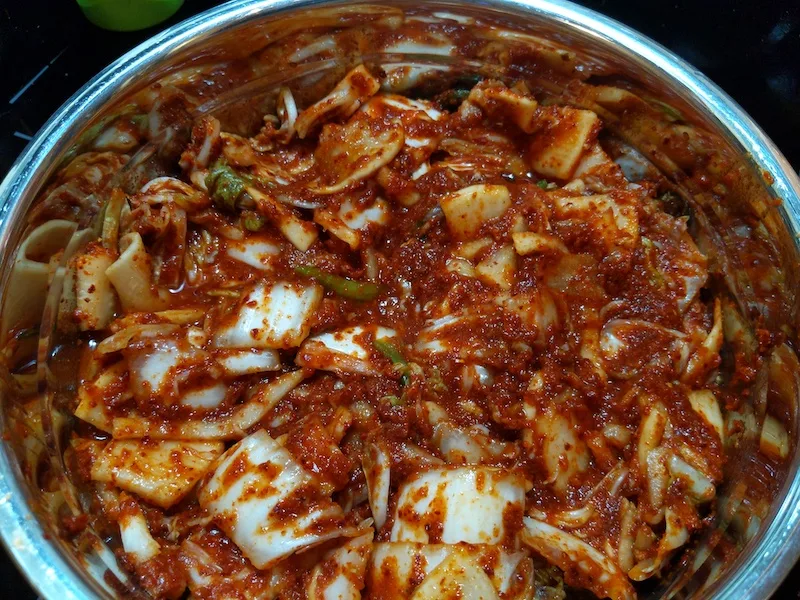
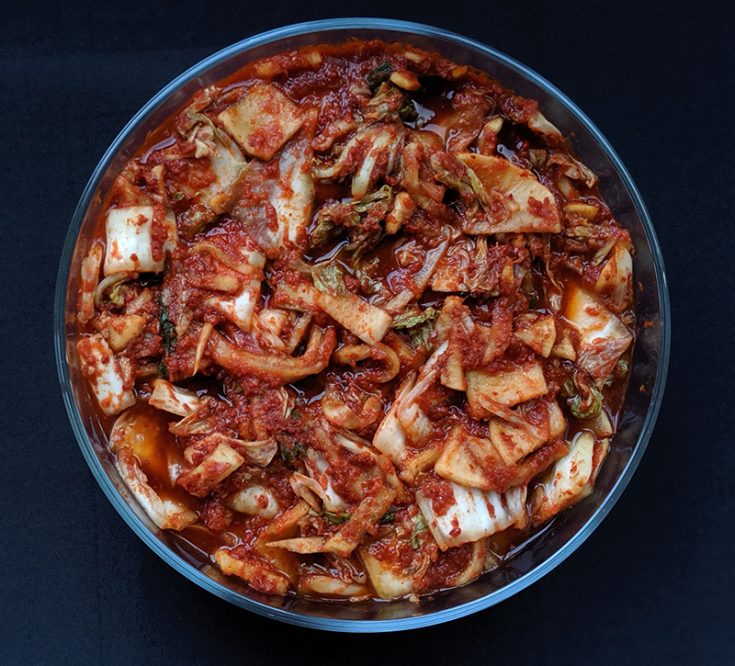
Mix the kimchi paste with the brined veggies until it’s covered and appears a bright red.
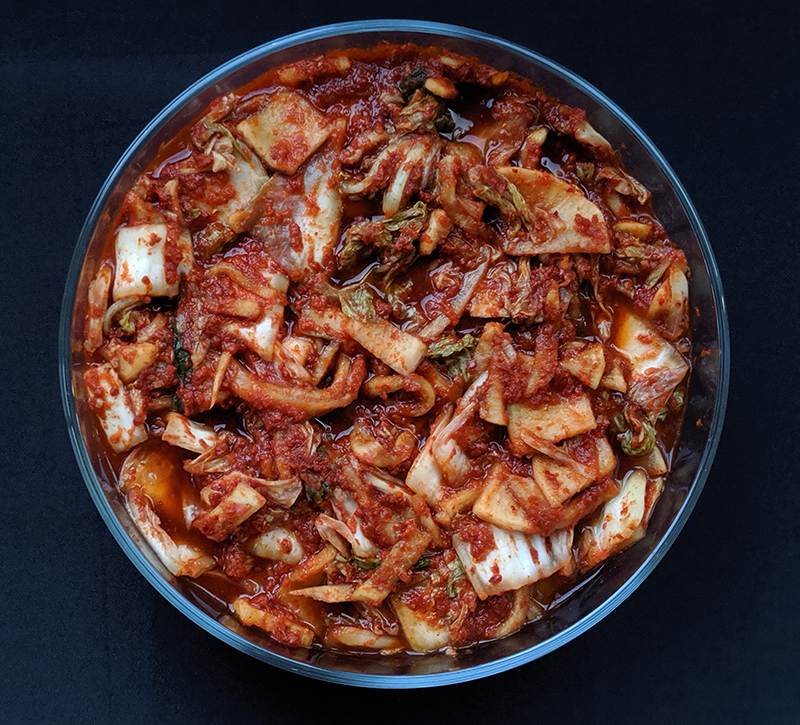

Transfer dressed kimchi into a glass container and cover with lid to ferment.

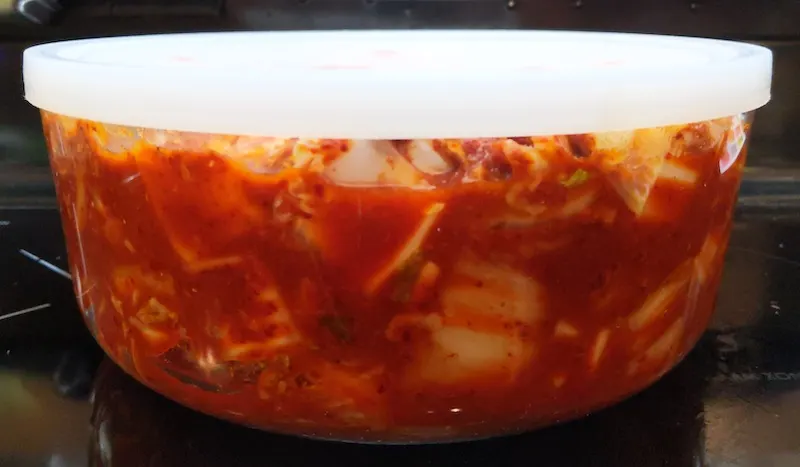
Ferment in a covered container. Place it over a tray to catch fermented juices as they escape the container.
Allow the kimchi to ferment for at least 72 hours. You can leave it out for up to a full week. After 3-7 days, wipe the container down and place it in the fridge. It will continue to ferment in the refrigerator.
We love our kimchi the most around the 5-week mark where it is super tart and tangy!
This recipe should yield enough for at least 3 months.
There are hundreds of types of kimchi. So there is no right way to make it. Try using other vegetables in your kimchi and finding a combination that fits your palette. The possibilities are endless…and delicious.
We hope you enjoyed this kimchi recipe! Do you have a preferred kimchi recipe? Let us know what makes yours stand out. We’d love to give it a try!
If you liked this post, please consider pinning it to Pinterest! Thanks for your support!


Thank you for visiting today! If you found this encouraging or informative, please connect with us on Instagram or TikTok. Sign up for our monthly newsletter for updates and more. We promise we won't spam you! Feel free to unsubscribe anytime. If you're a brand and want to work with us, please visit this page to get in touch.
